This is very
simple, in a nutshell we just need to add the TestNG and Selenium libraries or
jar files to a java project.
To create a TestNG project for selenium automation, eclipse should be installed with the TestNG plug-in.
If you need any help in installing TestNg plugin please check the post Install TesNG plugin in eclipse IDE.
To create a TestNG project for selenium automation, eclipse should be installed with the TestNG plug-in.
If you need any help in installing TestNg plugin please check the post Install TesNG plugin in eclipse IDE.
Step 1: Launch Eclipse, Go to File à New à Project

Step 2: On the next window select Java Project and click Next


Step 3: Enter project name and click Next

Step 4: On the next window, click on Library tab and click on Add Libraries


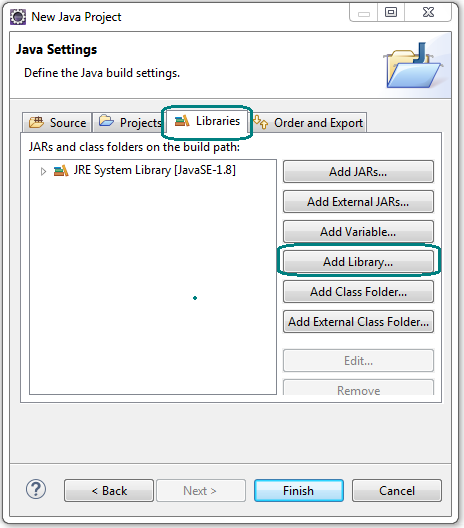
Step 5: Now select TestNG library and click on Next

Step 6: User should see TestNG library added in the libraries list, click on Finish

Step 7: Expand the project folder in the Eclipse;
under project folder you should see the TestNG library.

Step 8: Now add selenium-server-server to the project
created. Click on the Project and press Alt+Enter.
Project properties window should be opened.
Step 9: Select
Java Build Path, and then click on
the Add External Jars button.

Step 10: Enter the Selenium jar location in the File name and click on Open

Step 11: User should see the
selenium-server-standalone jar in the libraries, click on OK

This is how we can create a TestNG project for selenium automation. Hope this information is helpful to you, please share with your friends.
#HappyLearning #HappyTesting
#HappyLearning #HappyTesting

No comments:
Post a Comment